274
274
The after-signup email is a one-time email that is sent to contacts after they've signed up. The first after-signup email, in a potential series, is available to all accounts.
Create an after-signup email
To create an after-signup email:
- Navigate to the Convert > All Displays via the main navigation.
- Select the display in need of an after-signup email.
- Select the Follow-up step in the display builder.
- Click on the email card in the After Signup Emails section to open the email builder.
- Within the email builder, you will find a drag-and-drop editor that will allow you to add text, video, images, and more. You will also have the ability to edit the email's subject line, preview text, and reply to address by selecting these settings at the top left.
Personalize an after-signup email
With the general content and layout of your email in place, it's recommended that you add in some personalization, as personalized emails have a significantly higher click rate.
To personalize your emails, click into the email's body content, subject line, or preview text and include a supported merge tag. The process of inputting merge tags into the email's body content is a bit easier as the editor provides a Merge Tags dropdown menu listing common tags (e.g., Contact Name) and custom tags associated with your account's custom contact fields.

Note: Not every contact will have the required information to fill your included merge tag. To prevent any issues this lack of data may cause, you can include a default fallback value. To add default strings to variables, use the following syntax: {{ contact.first_name | default: "there"}} - In this example, Privy would attempt to populate the email with the contact's name but would use "there" if a value is unavailable (e.g., Hey {blank}, vs. Hey there,).
Test an after-signup email
After finalizing the email's content and any associated personalization, you should test the email to ensure it arrives as expected. To initiate a test, select the Send test email option at the top right. The test email will be sent to the email you use to log into Privy and will be personalized with any information that Privy has about you as a contact.

Decide if it's a series
Once you're done customizing the email, you will need to decide if the display will have a single after-signup email or a series of messages. If you would like to make it a series:
- Select the Save option in the upper right for the current email.
- In the Follow-Up step of the display builder, select the Create series
- Follow the steps discussed above to create an additional email. A new configurable Schedule setting will be available in the email's sending settings. This setting determines the amount of time between each email in your series.

- Repeat these steps until the desired series is complete.
Enable an after-signup email
After signup emails are enabled by default on active displays, meaning that they will immediately start sending to new signups if the following criteria are met:
- The display contains an email field and a coupon code.
- The account has a Website URL address set (if you are not sure, you can confirm it on the Business Information page).
- The display type is not Phone Capture or Two-Step.
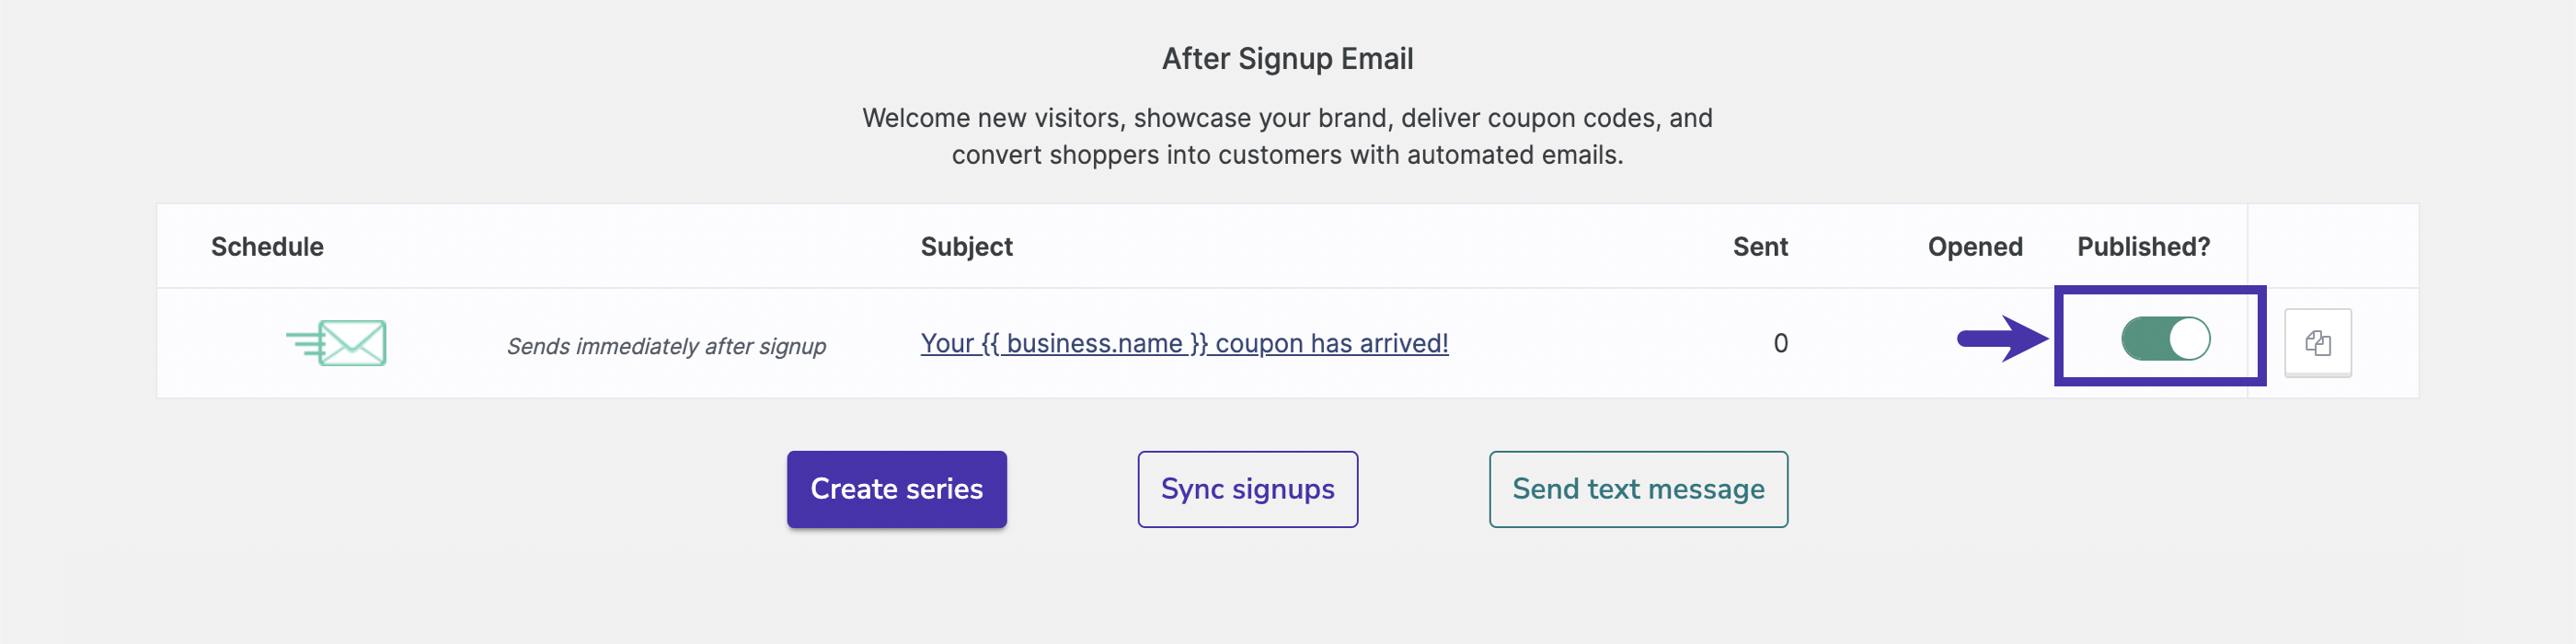
Note: Accounts created before May 26, 2022, won't automatically enable after signup emails. Manually switching the Published? toggle to the ON position is required.
If your display does not meet the criteria above, manually activate your after-signup email or series following these steps:
- Save any email you may be working on by selecting the Save option at the top right. This action will bring you back to the Follow-Up step of the display builder.
- Enable each email by switching the Published? toggle to the ON position. If the display is active, the email(s) will start sending to contacts who submit the display immediately. Make sure your content is customer-ready before taking this action.
Note: If you sync to an external marketing service, please review its settings to ensure you know how many emails your contacts will receive. For example, you would want to avoid sending multiple welcome messages to the same contact from different services.
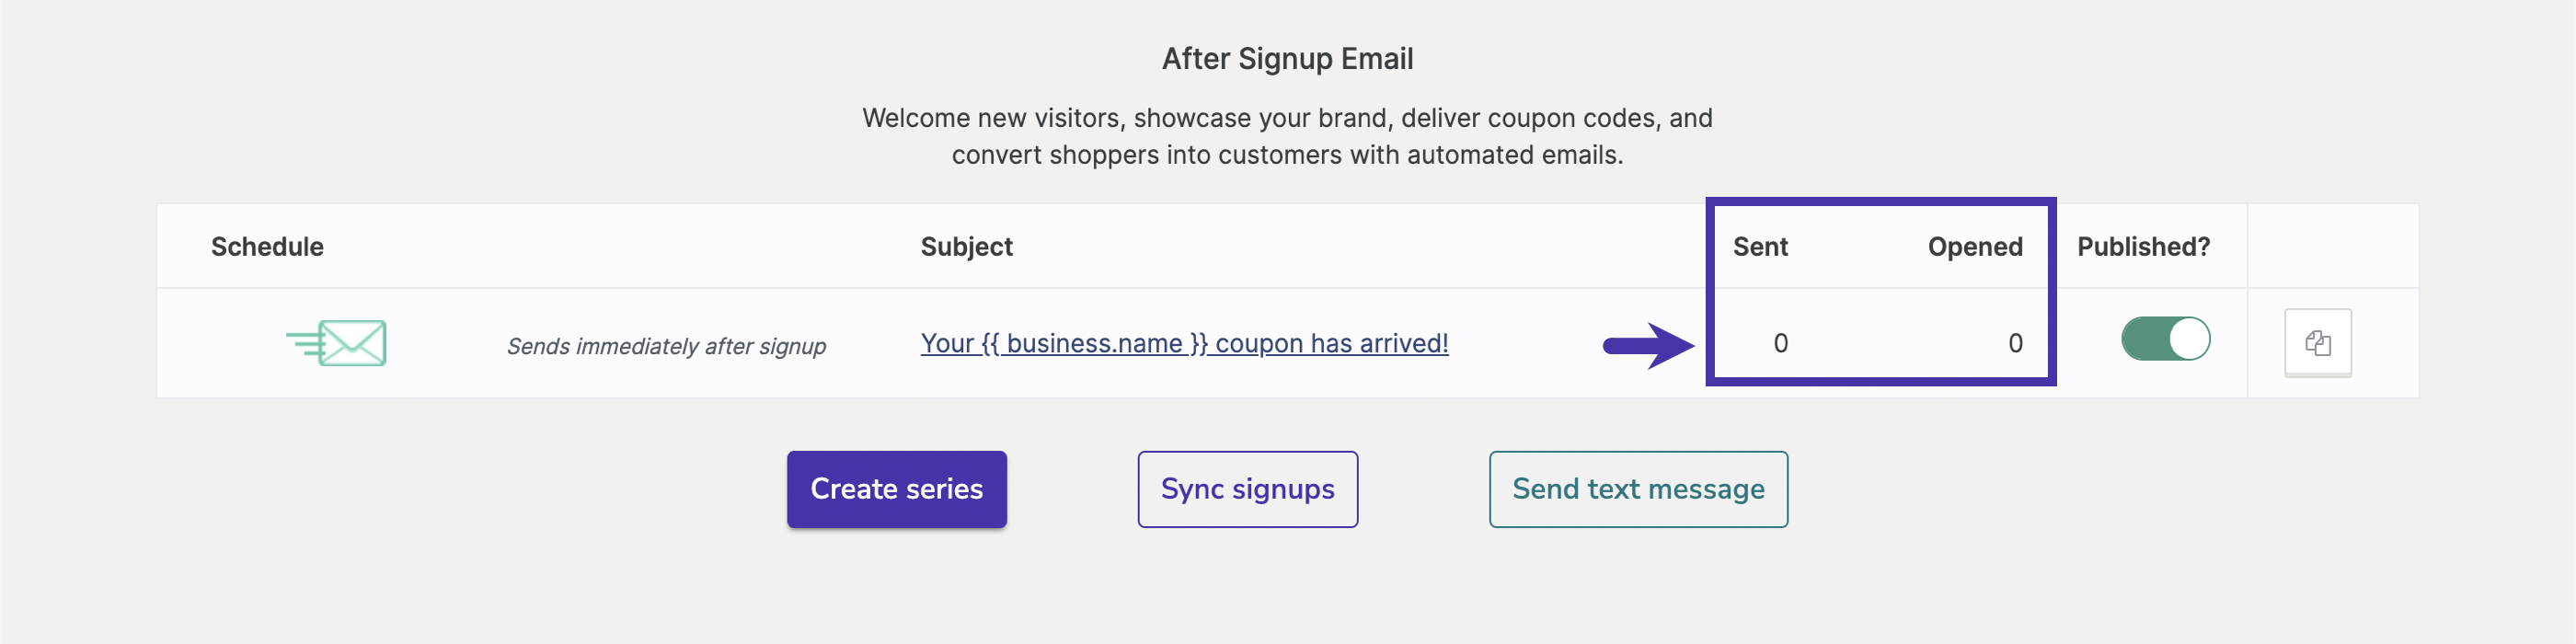
Review performance
Once your display and after-signup email(s) are live, you can see the number of your customized marketing messages that have been sent and opened via the display Follow-up tab.